Ceramic Coating & PPF Guide: Understand
How Paint Protection Film Is Installed, Step by Step
A paint protection film install looks simple from the outside: spray, lay, squeegee. In reality most of the time goes into steps you never see, and those steps decide whether film stays flat and invisible for years or starts lifting at the corners in the first summer.
This guide walks through a professional install in order, using film makers' published procedures, so you know what good work involves and what to ask before you book.
The short answer
Paint protection film is installed by inspecting and correcting the paint, washing and decontaminating it, cutting film from a vehicle pattern or a bulk sheet, then laying it on wet with a slip solution so it can be positioned. The installer squeegees out the solution, uses a tack solution to lock down edges and curves, wraps edges where the panel allows, and inspects the work. The adhesive then needs days to set before the first wash.
Key points
- Prep is most of the job: wax, sealant, ceramic coating and contamination all have to come off where film will go.
- Film goes on wet: a slip solution lets it float into place, and a tack solution makes the adhesive grab where needed.
- Temperature matters; one film maker recommends 60 to 85°F, ideally around 70 to 79°F.
- Do not wash the car for about three days after installation, so the adhesive can set.
Before the film
Step Zero: Inspection and Paint Prep
Film seals in whatever is underneath it, so the install starts with a close look at the paint. Swirls, scratches, water spots and chips on the panels getting film are noted, and the owner decides what to correct first. Polishing out defects before film goes on is far easier than living with them under it.
Paint history matters too. LLumar's FAQ says its film is designed for original paint, that problems with aftermarket or repaired paint are not covered by its warranty, and that if film goes over fresh paint, a 30-day wait is common so the paint can outgas. Existing rock chips are usually touched up first so they are not sealed in.
Decontamination
Getting the Paint Truly Clean
Film adhesive needs bare, clean paint. A major film maker's installation bulletin lists the preparation steps below, and LLumar's FAQ adds that you should not wax a car before film, because waxes and coatings interfere with adhesion.
Wash thoroughly
A full hand wash removes loose dirt, pollen and grime, including inside panel edges and gaps where film will wrap.
Remove any ceramic coating
The bulletin's first instruction is to make sure no ceramic coating is on the paint where film will go. If there is one, it is removed by polishing before installation.
Strip wax, sealant and tar
An adhesive remover solvent takes off residue the wash missed, such as wax, tar and paint sealant.
Clean off solvent residue
A non-ammonia foaming glass cleaner removes what the solvent leaves behind.
Clay the paint
A mild clay bar pulls bonded contaminants out of the surface so the film does not trap specks underneath.
Final wipe and inspection
The paint is wiped with a clean, non-abrasive microfiber and checked under bright light before any film comes out.
The film
Pattern Kits vs Bulk Film
Film is cut one of two ways. With a pattern, software holds the exact shape of each panel for that make and model, and a plotter cuts the pieces from the roll. The bulletin notes the cap sheet, the protective layer on top of the film, is removed before plotter cutting. Patterns can be cut tight or with extra material so the installer can wrap edges.
With bulk film, the installer lays a larger sheet over the panel and trims it on the car. It allows deep wraps on complex parts but means working with a blade near the paint, so technique matters. Some installers use both: patterns for most panels, bulk for pieces that benefit from custom wrapping.
- Slip solutionLets film float
- Purified water with a small amount of gentle soap such as baby shampoo. Sprayed on the paint and the adhesive, it stops the film from grabbing so it can be slid into position. The bulletin says it must be mixed fresh every day.
- Tack solutionMakes film grab
- Isopropyl alcohol diluted with water (for example 150 ml of 99 percent alcohol to 850 ml of water). It cuts the slip so the adhesive grips, used to anchor edges, corners and curves.
- Hybrid solutionIn between
- Tack solution with a little shampoo added, for a balance of grip and working time.
- Installation gelAlternative to slip
- A thick, water-based gel some installers use instead of or alongside slip solution, especially on large panels.
Application
Laying the Film, Panel by Panel
Wet the panel and the film
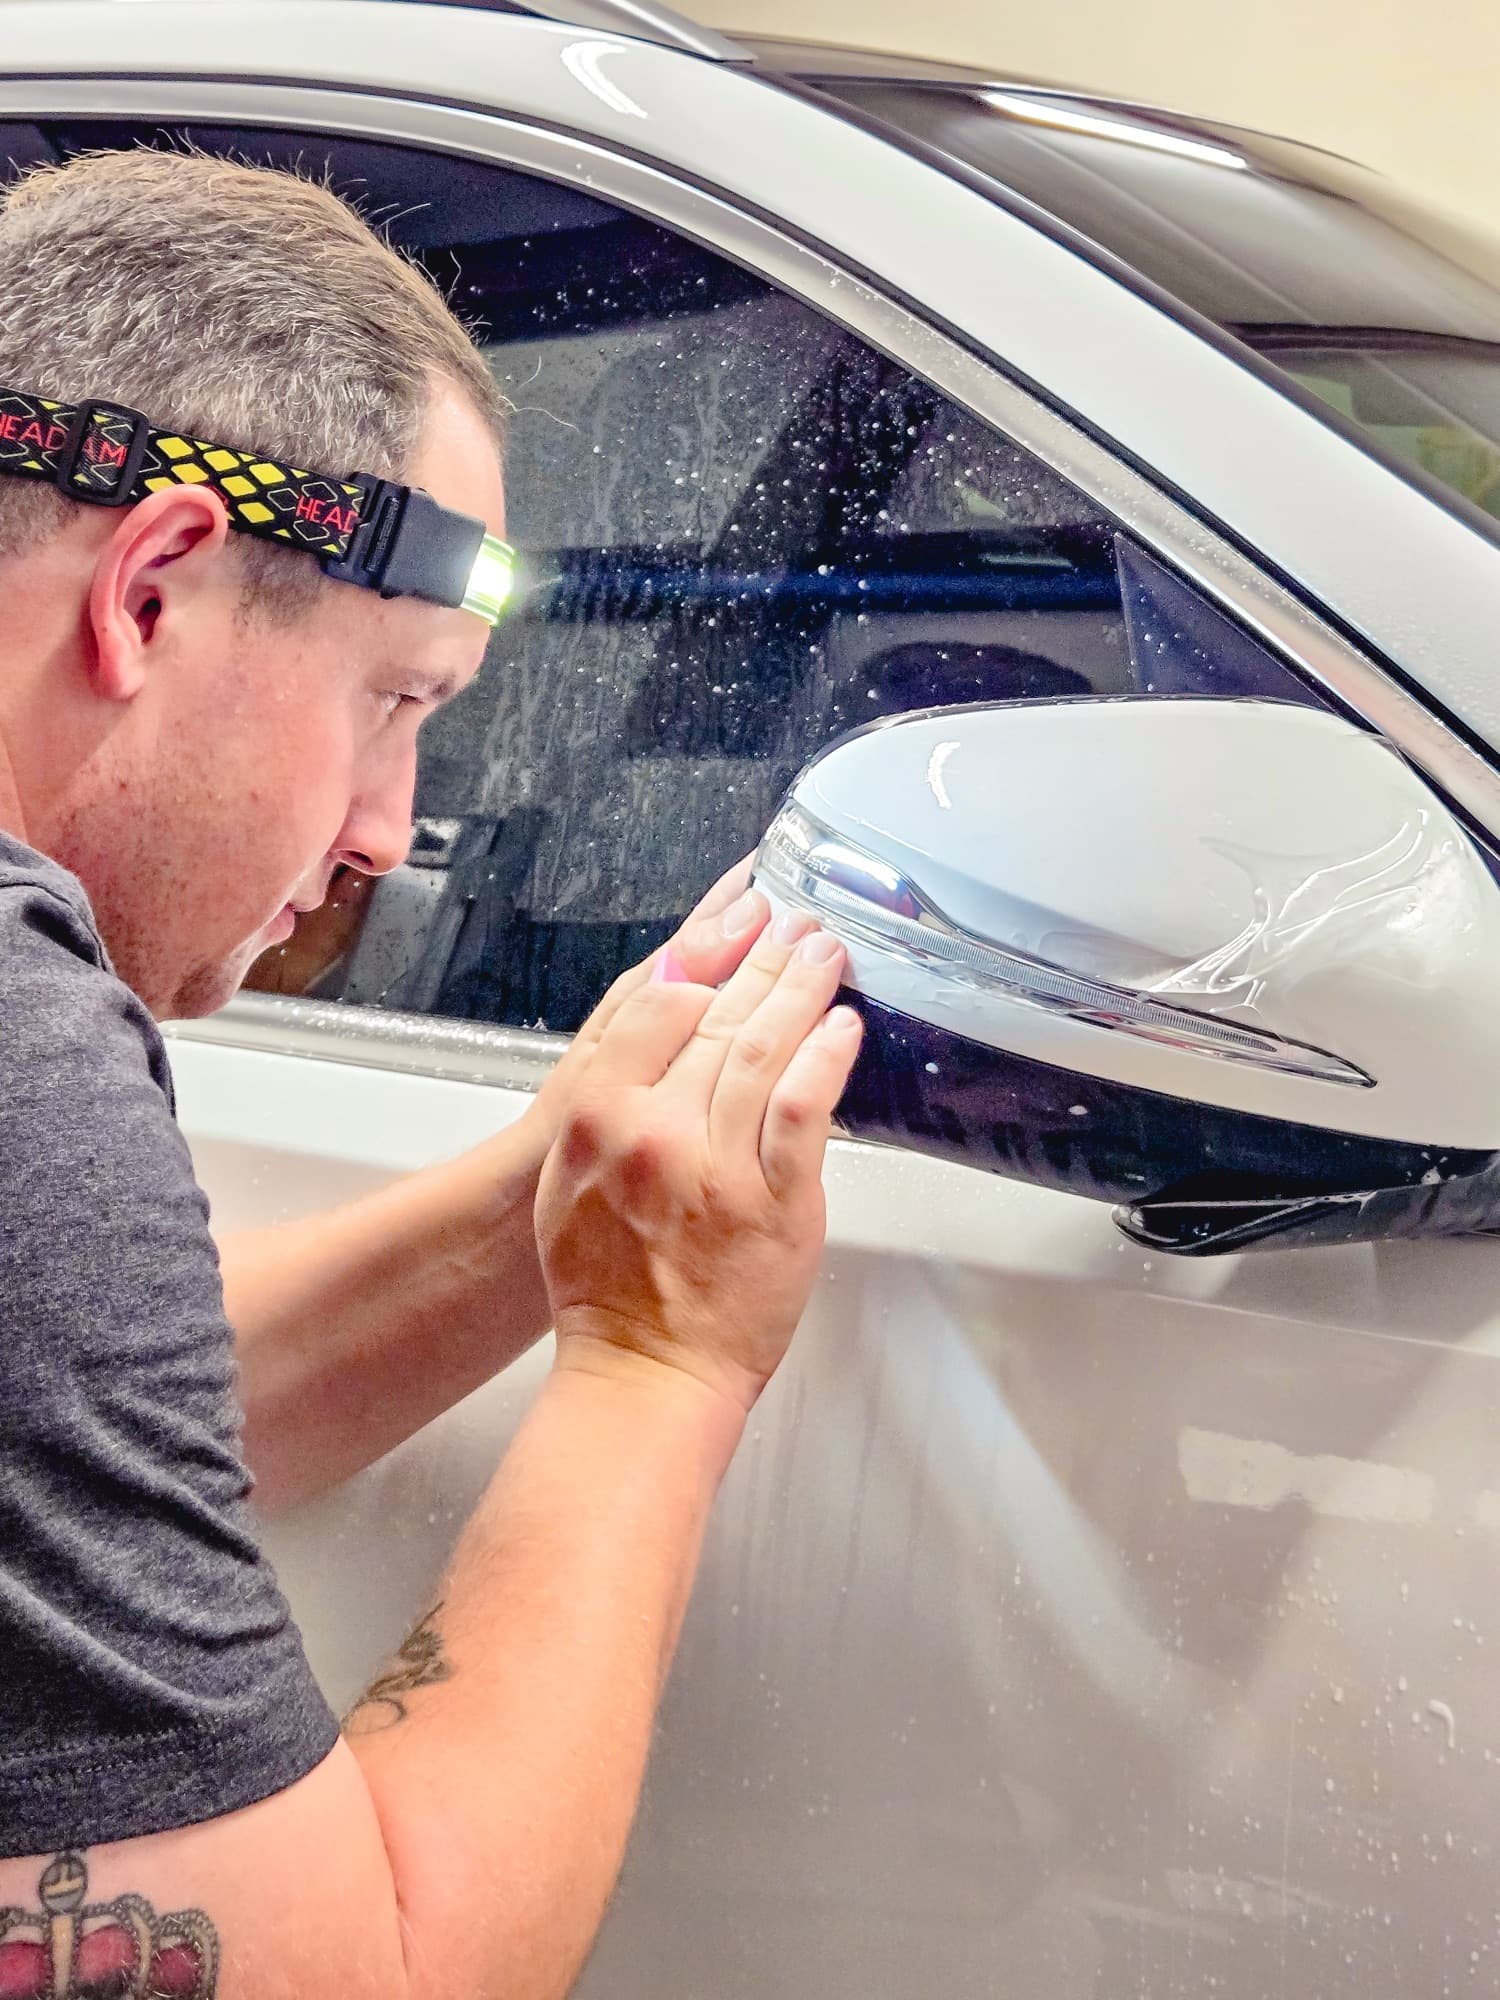
The panel is sprayed with slip solution. The release liner is peeled away while the adhesive side is sprayed too, so no dry adhesive touches the paint.
Float into position
The film is laid on and slid into place, lined up with panel edges, body lines and openings.
Anchor
Once positioned, a section is locked down so the rest of the piece can be worked from it. On a large bulk panel like a hood, the bulletin describes drying anchor points at the corners, holding them for about ten seconds and setting them with warm water or tack solution while the film is stretched.
Squeegee from the center out
Overlapping squeegee strokes push the solution and air out toward the edges, bonding the film as they go. Pressure and angle are kept even so the film is not scratched or distorted.
Work the curves
On complex curves, the film is gently stretched and the adhesive activated with tack solution, then held in place for at least ten seconds, per the bulletin. Relief cuts are added only where the shape demands them.
Wrap and seal the edges
Where the panel allows, film is wrapped around edges or tucked under trim. Edges get extra attention because they are where film fails first. Installers may use gentle, controlled heat to help film conform; too much distorts it.
Finishing
Drying, Inspection and Handover
When a panel is done, the film is wiped down gently, dried and inspected. The bulletin says to allow about 15 minutes for the adhesive to dry before putting pressure on the film, to avoid leaving marks.
The installer then checks every edge, corner and opening in good light, looking for lifting, trapped debris, stretch marks or dry spots that did not bond. Small issues are fixed while the adhesive is still fresh.
Environment plays a role throughout. The same bulletin recommends applying film at 60 to 85°F, with 70 to 79°F ideal. That is one reason film is installed indoors in a clean, well-lit bay rather than in a driveway: dust, wind, direct sun and a hot summer panel all work against a clean install.
The Auto Show installs LLumar Platinum PPF as an authorized LLumar installer.
After pickup
The First Days After Installation
The adhesive keeps setting after the car leaves. LLumar advises not washing for three days, and the other bulletin says at least 72 hours. After that, hand washing is preferred; LLumar discourages pressure washers and automatic washes because they can lift film, especially at the edges.
It is common to see small water pockets or a slightly hazy look in the first days, especially in cooler weather, as leftover solution works its way out through the film. Many of these disappear on their own. Your installer should tell you what is normal and when to come back, and anything that grows, contains debris or sits on an edge should be checked.
- No washing for about three days.
- Do not press, pick at or push on edges or water pockets.
- Park in the sun when you can; warmth helps remaining moisture evaporate.
- After the first wash, check edges for lifting.
| Step | Purpose | What happens if it is rushed |
|---|---|---|
| Paint inspection and correction | Fix defects before they are sealed in | Swirls and scratches show under the film |
| Coating, wax and sealant removal | Bare paint for the adhesive | Poor adhesion, early lifting |
| Clay and final wipe | Remove bonded specks and dust | Bumps and specks trapped under film |
| Fresh slip solution | Clean, controllable positioning | Film grabs early, misaligned pieces |
| Tack at edges and curves | Lock down the most stressed areas | Corners and curves pull back |
| Edge wrapping and inspection | Hide borders, catch problems | Visible lines, lifted edges |
| Waiting before washing | Let the adhesive set | Water forced under edges |
Book a PPF install done the careful way
We install LLumar Platinum PPF as authorized LLumar installers, from front-end packages to full car coverage. Request a quote and we will confirm coverage, prep and price after inspection.
Common questions
Can PPF be installed over a ceramic coating?
Not directly. Film makers want film on bare paint; one major film maker's installation bulletin says to make sure no ceramic coating is on the paint first, and to have it removed if there is one. That is why the usual order is paint correction, then film, then a coating over the film and the rest of the car.
Why is paint protection film installed wet?
The adhesive is aggressive once it touches paint. A slip solution of purified water and a little gentle soap stops it from grabbing, so the installer can slide each piece into exact position. Squeegeeing then pushes the solution out, and a diluted alcohol tack solution makes edges and curves grip.
Why does my new PPF have small bubbles or look hazy?
In the first days, small water pockets and slight haze are common as leftover installation solution works its way out through the film. Warm weather and sun speed this up. Pockets that contain dust or debris, sit on an edge or do not shrink over time are different, and your installer should look at them.
Can PPF be installed outside or in a driveway?
It is not recommended. One film maker recommends 60 to 85°F for installation, and wind, dust, pollen and direct sun all make a clean install much harder. A hot Upstate summer panel dries solutions too fast, and blowing dust ends up trapped under the film. Indoor bays with good lighting are the standard.
Should I wax my car before a PPF appointment?
No. LLumar's FAQ says waxes and coatings can interfere with film adhesion. Bring the car in clean but unwaxed, and if it already has wax, sealant or a coating on the panels getting film, the installer will remove it during prep. Mention any products you have used so the prep can be planned.
Sources
- 3M Paint Protection Film Installation Guidelines, Instruction Bulletin, October 2024, 3M (https://multimedia.3m.com/mws/media/2159838O/3m-paint-protection-film-installation-guidelines-en-we.pdf), accessed October 2026
- Paint Protection Film Frequently Asked Questions, LLumar (https://llumar.com/en/resources/paint-protection-film-frequently-asked-questions/), accessed October 2026
- Self-Healing Paint Protection Film Technical Specification (01/19), Eastman Performance Films / LLumar (https://vikiallo.dk/wp-content/uploads/data_sheets/558130_ENG_010119.pdf), accessed October 2026
Prices on this page are The Auto Show’s published starting prices and are confirmed after we inspect the vehicle. Product ratings and warranty terms come from the manufacturers.